Key Takeaways
- Preparation is Key: Have a detailed checklist, camera, and lease agreement ready to ensure a smooth and thorough inspection.
- Document Everything: Take clear photos and videos, and pair them with written notes to prevent disputes over property condition.
- Communicate Clearly: Discuss inspection findings professionally with tenants to maintain transparency and avoid conflicts.
- Fair Security Deposit Handling: Differentiate between normal wear and damage, and provide detailed repair cost breakdowns when making deductions.
Are you confident that your property is in the condition you expect when a resident moves in or out? As a landlord, failing to conduct a thorough walk-through inspection can lead to costly disputes, unexpected damages, and unnecessary stress.
A well-executed inspection is a critical step in protecting your investment, maintaining strong resident relationships, and ensuring a smooth transition between occupancies.
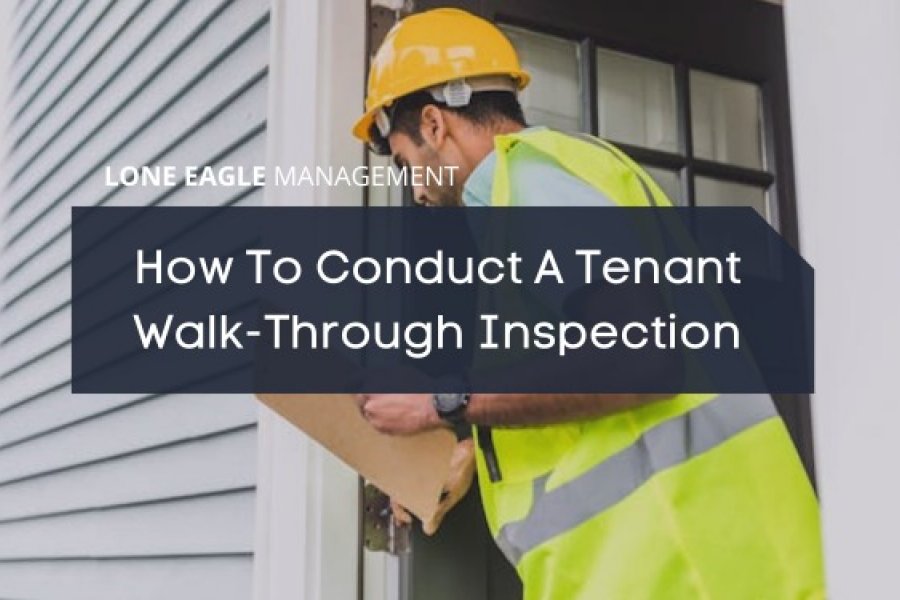
How do you conduct an inspection that’s both thorough and legally sound? In this guide, Lone Eagle Management will walk you through the key steps for performing a proper tenant walk-through inspection.
This approach ensures your property is safeguarded, conditions are documented accurately, and potential future disputes are avoided.
Learn How We Can Help You Maximize Your Home’s Potential
Why Does A Walk-Through Inspection Matter?
No landlord wants to deal with unexpected damages, security deposit disputes, or legal headaches. That’s where a proper walk-through inspection becomes your best defense. It’s not just about checking if the walls are still standing; it’s about protecting your investment and keeping everything well-documented.
A thorough inspection ensures that both you and your tenants are on the same page regarding the property’s condition. This helps prevent misunderstandings, reduces the risk of costly repairs, and sets clear expectations from day one.
Pre-Inspection Preparation
Before jumping into an inspection, having the right tools and documents in hand makes the process smooth and stress-free. Prepare a detailed checklist that covers everything from floors and walls to appliances and plumbing. You’ll also need a camera or smartphone to take clear photos and videos.
Keep a notepad or digital form handy to write down any issues you notice. And don’t forget a copy of the lease agreement—this helps you cross-check what was initially promised versus the current state of the unit. Being prepared saves you from scrambling and ensures nothing gets overlooked.
Move-In Walk-Through
The move-in inspection is your chance to set the tone for a positive landlord-tenant relationship. Walk through the property with the tenant and go over each room carefully. Point out anything that’s already worn out or has minor imperfections, and document it in writing with supporting photos.
This protects you from future blame and reassures the tenant that you’re being fair. Make sure appliances work, plumbing is running smoothly, and doors/windows open and close properly. Encourage the resident to bring up any concerns at this stage.
Move-Out Walk-Through
When a tenant moves out, the goal is to assess how much of the property’s condition has changed. This is where you differentiate between normal wear and tear (like minor scuffs on the wall or faded paint) versus actual damage (like holes in walls, broken fixtures, or missing appliances).
Use your original move-in checklist and photos as a reference to compare the condition then versus now. If there are damages beyond normal wear, document them properly and estimate potential repair costs. It’s always best to be transparent with the tenants about deductions from their security deposit.
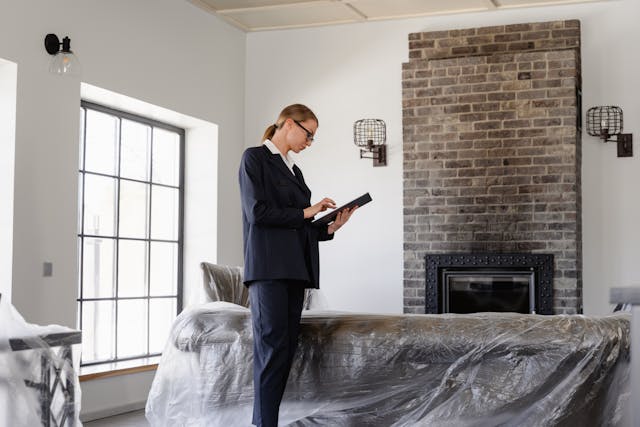
How To Document Findings Properly
Proper documentation is your best defense against disputes and misunderstandings. Whether it’s a move-in or move-out inspection, take clear, timestamped photos and videos of each room, including walls, floors, ceilings, appliances, and fixtures.
If you notice anything damaged, take close-up shots from multiple angles.

Pair these visuals with detailed written notes and describe what you see rather than just marking a checklist. The more precise you are, the easier it will be to prove what was already there versus what changed during the resident’s stay.
Communicating Inspection Results With Tenants
How you discuss inspection findings with your residents can make a huge difference in how smoothly the process goes. Whether it’s move-in or move-out, when communicating with tenants be clear, professional, and approachable.
During move-in, walk the tenants through the documentation process so they know you’re being transparent. If it’s a move-out inspection and you’ve found issues, share your notes and photos with them calmly.
If deductions from the security deposit are necessary, explain exactly why and how much. No one likes unexpected costs, so the more upfront and reasonable you are, the less likely you’ll face resistance.
Handling Security Deposits And Repairs Fairly
Security deposit disputes are one of the biggest headaches for landlords, but they can be avoided with a fair and transparent approach.
First, always differentiate between normal wear and tear and actual damage, tenants shouldn't be charged for minor fading of paint or slight carpet wear, but they are responsible for things like broken fixtures or excessive stains.
If deductions are necessary, provide a detailed breakdown of repair costs with receipts or estimates. If possible, share this information before officially deducting anything so the resident understands where their money is going.
Handling this fairly not only protects you legally but also helps maintain a good reputation as a landlord.

Common Mistakes To Avoid During Inspections
Even experienced landlords can make mistakes during walk-through inspections. Here are some common pitfalls to watch out for:
- Not Using a Checklist – Relying on memory can lead to missed details, increasing the risk of overlooking important issues.
- Failing to Take Photos or Videos – Without visual proof, justifying security deposit deductions can become difficult if challenged.
- Rushing the Inspection – Skipping over small details may lead to bigger, costly repairs down the line.
- Skipping the Resident’s Involvement – Inspecting without the resident can lead to disputes over damages.
- Forgetting to Follow Up on Repairs – Ignoring minor maintenance issues now can result in expensive fixes later.
Bottom Line
A well-executed walk-through inspection is key to maintaining your property’s value and avoiding costly disputes. However handling inspections, documentation, and security deposits can be time-consuming and stressful. That’s where Lone Eagle Management comes in.
Our team ensures thorough inspections, proper documentation, and fair handling of security deposits—so you don’t have to worry. Let’s discuss the best approach for your rental property. Reach out to Lone Eagle Management today to explore your options and find the right solution for you.